
Super Head Soccer Master Power Moves
Charge timing, finish angles, and counters for the 2D head-soccer power swing—without donating possession.
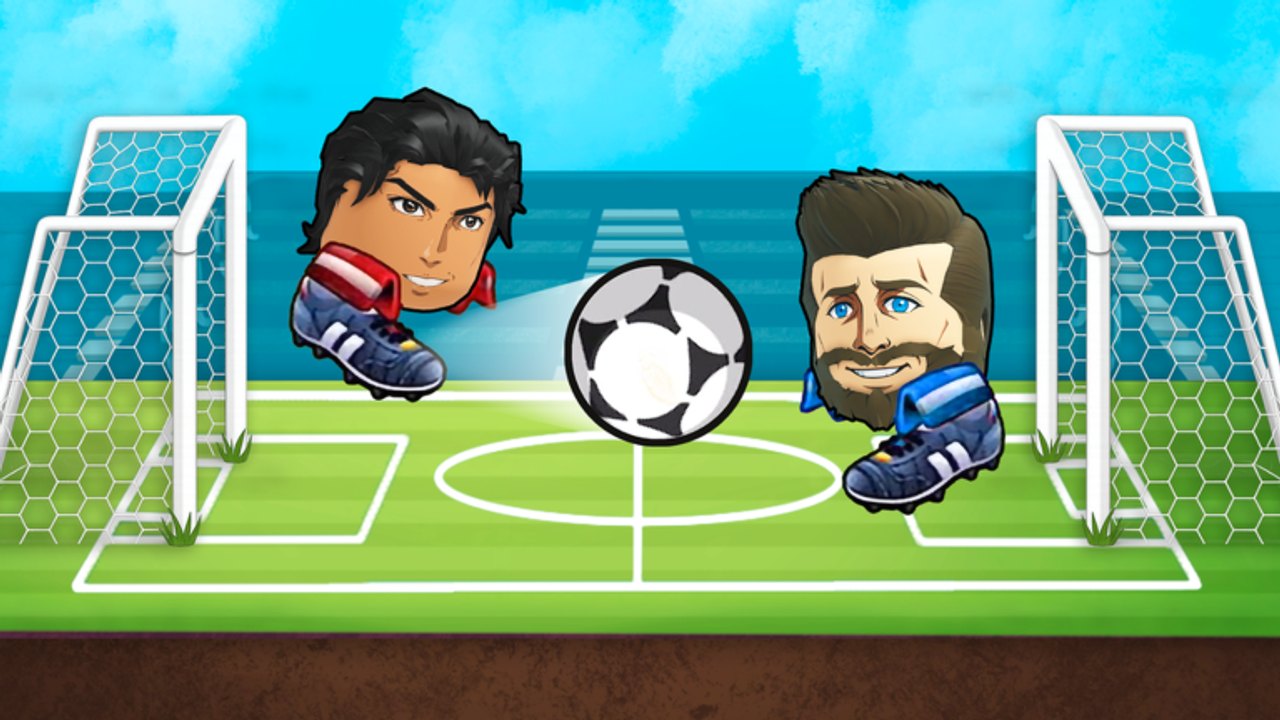
Power moves are the trailer fantasy of [RANKED] Super Head Soccer: a charged strike that turns a bounce into a highlight. They are also the fastest way to throw away a ranked lead if you fire from a bad angle. This guide teaches when to charge, when to hold, how midfield waste differs from real finish windows, and how to counter opponents who telegraph every swing.
The experience is a Roblox 2D 1v1 by God Bless Zak / 1Day Games (place ID 122494806393707). Inputs live on Controls. Match framing lives on How to Win 1v1. Ladder discipline lives on the Ranked Guide. Strategic ranking of habits sits on Strategy Tiers.
What a power move actually buys you
A power swing is not “more damage numbers.” In Super Head Soccer it is a tempo and angle commitment:
- You spend attention on charge timing instead of micro-positioning.
- You create a larger miss window if the opponent reads the tell.
- You force them to respect space even when you never fire.
Treat charge as a threat resource. The threat alone can make jump-happy opponents early-leap so you can soft-touch past them.
When to start charging
Green-light charge starts
- You already won the bounce and have outward space toward the far post.
- The opponent is recovering from a missed jump or a bad clear.
- You are entering the box with a stable first touch—not mid-panic.
- You can finish the charge before the swing must happen.
Yellow-light (optional hold)
- Midfield possession with a slight angle advantage.
- Opponent is deep but not yet committed.
- You are ahead by one and want them scared more than you need the shot.
Red-light (do not charge)
- Neutral 50/50 in the center circle.
- Your heels are already on the goal line.
- The ball is pinballing and you cannot guarantee contact side.
- You are tilted and “just want something to happen.”
If the only reason you are charging is emotion, cancel and clear.
Midfield waste vs finish angles
Community clips celebrate midfield rockets. Ranked climb notes punish them.
Midfield waste patterns
- Charging while both players contest the same vertical bounce
- Firing into a primed counter jump
- Spending power to “feel proactive” when a soft header would keep shape
- Releasing early because charge UI anxiety beat patience
These swings often bounce back into your half or sail wide. You then defend a counter with no threat left.
Finish angles that actually score
Aim for situations where geometry helps:
- Far-post lanes after a wide touch—harder to body-block.
- Second-touch setups where the first contact killed speed and the second is the charged finish.
- Recovery punishes when they double-jumped on the goal line.
- Side-view comfort finishes—many players read arcs better on the preferred right-side view after map voting and sides.
A quiet angled power beats a loud central hope shot.
Charge discipline drills (casual only)
Use casual matches as a lab before ranked:
- Hold-only game: charge whenever legal, but forbid releasing unless the angle is far-post clear.
- One-power game: allow a single release per match; make it count.
- Counter-bait game: show charge body language, cancel, and soft-finish instead.
Log results the same way climbers log ladder blocks on the Ranked Guide: powers scored vs powers wasted.
Counters when they spam power
Against power specialists:
- Watch feet and charge posture more than the ball for half a second.
- Pre-jump the obvious release lane, then recover low if they cancel.
- Do not mirror-spam; let them empty the resource first.
- After their whiff, take the counter-scorer sequence: safe clear → second touch forward → simple finish.
Goal-line habits from Goal-Line Defense matter here: panic jumps into a charged ball are how clean sheets die.
Linking power use to lead management
When leading by one: refuse midfield powers. Clear wide. Keep charge as a deterrent only if the angle is absurdly free.
When trailing by one: increase pressure, but still save the swing for the first true opening—not the twentieth hopeful attempt.
When tied late: the player who wastes charge first often loses the mental edge. Patience is a ranked skill, not passive play.
These rules mirror S-tier composure notes on the Tier List and the finish/defense split in How to Win 1v1.
PC and mobile timing notes
On PC, power inputs sit beside the Q / S / Space / LMB / RMB cluster described in Controls. Practice the charge without looking at your fingers; visual attention belongs on bounce height.
On mobile, thumb travel makes late cancels harder. Pre-position your finger before the touch that should become a charge so you are not sliding across the whole UI mid-duel.
After patches, retest charge rate in one casual match—beta physics shifted through August 2026 and can change how long “full” feels. Track notes via Beta Patch Notes.
Common myths
- Myth: More powers equal more goals. Reality: More selective powers equal more goals.
- Myth: Trailer clips prove midfield lasers are optimal. Reality: Clips hide the ten whiffs before the one that worked.
- Myth: You must power to climb. Reality: Many ladder wins come from boring clears and one clean finish.
- Myth: Scripts will time powers for you. Reality: Executors risk bans and teach nothing—see Scripts Hub.
A single-match power checklist
- Pre-match cue: “far-post only” or “one power max.”
- Opening: no instant power on kickoff.
- Midfield: hold or soft play unless recovery punish appears.
- Box: charge only with angle + stable touch.
- After whiff: immediate defensive reset, no revenge swing.
- After goal: ignore celebration brain; ready the next kickoff.
Optional study: watch disciplined finishing in challenge runs, then recreate one release decision—not the entire scoreline. The embedded video on this page is inspiration for control under pressure, not a demand to chase 7–0 every night.
Put it together
Great Super Head Soccer power play looks quiet: early recognition, patient charge, finish angle, or a deliberate cancel that still moves the opponent. Stack that with ranked stop-loss habits and goal-line composure and your win rate climbs without relying on rumor codes or risky tools.
Return to Guides Hub for the full tutorial map, and keep Official Links handy when Discord events showcase high-level 1v1 charge discipline live.
Frequently Asked Questions
Quick answers for Super Head Soccer players.
When should I use a power move in Super Head Soccer?
Charge when you have a stable touch and a clear finish angle—especially far-post after the opponent missed a jump. Avoid neutral midfield 50/50 swings.
Why do my power shots keep failing in ranked?
Most failures are angle and timing problems, not “bad luck.” Stop releasing from center-circle contests and practice one-power casual drills first.
Is holding a charge without shooting useful?
Yes. The threat changes how opponents jump. Canceling into a soft finish often beats forcing a weak release.
How do I counter players who spam powers?
Read their charge posture, avoid panic mirroring, and punish whiffs with a quick counter sequence instead of your own hopeful swing.
Which guides should I read with this page?
Pair Power Moves with Controls, How to Win 1v1, Strategy Tiers, and the Ranked Guide so charge timing supports ladder habits instead of highlight greed.